How to manage domains at iMonetizeIt?

Hello!
November sneaks up unnoticed, but with cool #imifeatures 😉
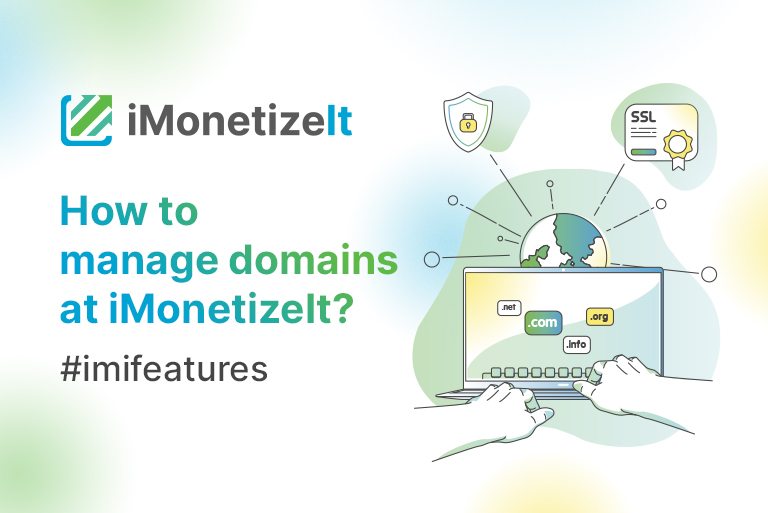
Today we’re talking about Domains at iMonetizeIt platform! This guide helps you to add a subdomain and a free SSL certificate.
Let’s start with the fact that all domains are mirrors of the main one, that is, it doesn’t matter what domain you’ll choose, because the domain doesn’t affect on offers in rotation.
1. Add domain to your system
As mentioned earlier, adding of a domain has its own advantages. Since thousands of users send traffic on our domains, they get banned faster and sometimes we have to change the domain in the link. If you send traffic to your personal domain, you can control all alerts on your own.
If you want to add your domain to our system, you need:
- Buy a domain;
- Connect it to the hosting;
- Create CNAME record in the settings.
You can create CNAME record in the following way:
1. In the DNS settings, click “add record”
2. From the record type list, select CNAME (Alias)
3. Complete the following fields:
Host – enter the subdomain name for the alias assignment. For example, type www
Points to – enter the host name you want the alias to point to (www.imi5rd.com.)
4. Save changes. The new CNAME record displays in the CNAME (Alias) section.
2. Add Free SSL
Also, you can use free SSL certificate for selected domain. Click the button “Add SSL” to do that.
SSL type – Free SSL
3. Upload SSL Certificate
Besides, you can upload SSL certificate that was bought from specialized website. Add the certificate in the txt format in the field below and click the button “Add SSL”.
- Domain
- Certificate body
- Private Key
- Certificate chain
Now you can easily add a domain and a free SSL certificate, that’s why it is a high time to create a new Smartlink ?
Let’s go for leads!


